Pre-Flight Checks for Your XAG Ag Drone: A 10-Minute Routine Before Spraying

Spray and spread season is hard on gear. Dust, chemical and fertiliser residue, long days and plenty of take-offs and landings all add up. Spend 10 minutes on a pre-flight check before you launch, and you cut the risk of a crash or a breakdown halfway through a job. It could also save you a trip to the service centre.
This guide covers six checks we recommend before starting each job with your agricultural drone.
Pre-flight checklist at a glance
- Battery connector clean and undamaged
- Propeller blades straight, clean and tight
- Motors spin freely and quietly
- Arm clamps locked
- Arms and airframe solid, no cracks
- Lights, cameras and radar clean
1. How to check and clean your drone’s battery connector
The battery connector is the main power link between the battery and the drone. If it’s dirty or damaged, you risk overheating, short circuits and a damaged battery, which is an expensive mistake.
Before you start, power off the drone and remove the battery.
Check the outside
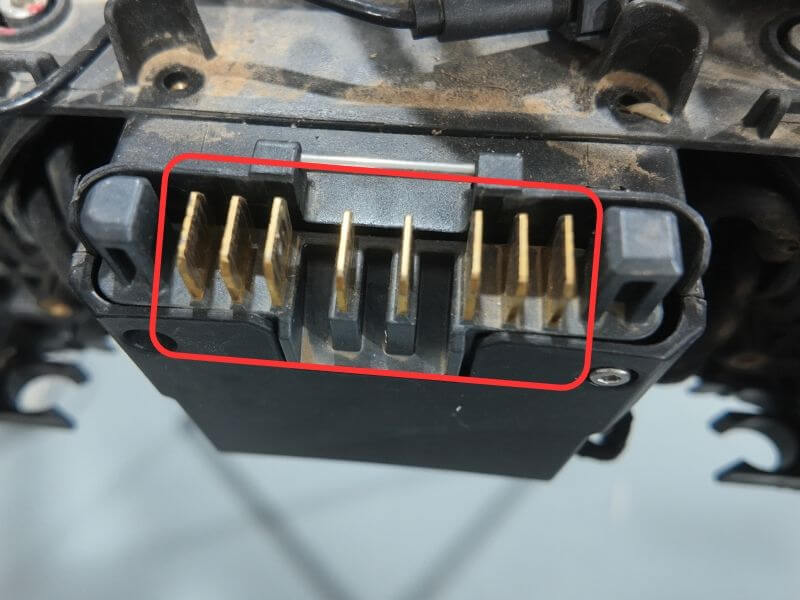
Look over the outside of the connector for fertiliser, soil or other debris. Check whether the metal contacts have gone black. If you see either, clean the area with a brush or a cotton bud dampened with alcohol.
Clean the inside
Dirt can get inside the connector too, where it can cause friction and heat. It’s worth a look every time you check the outside.
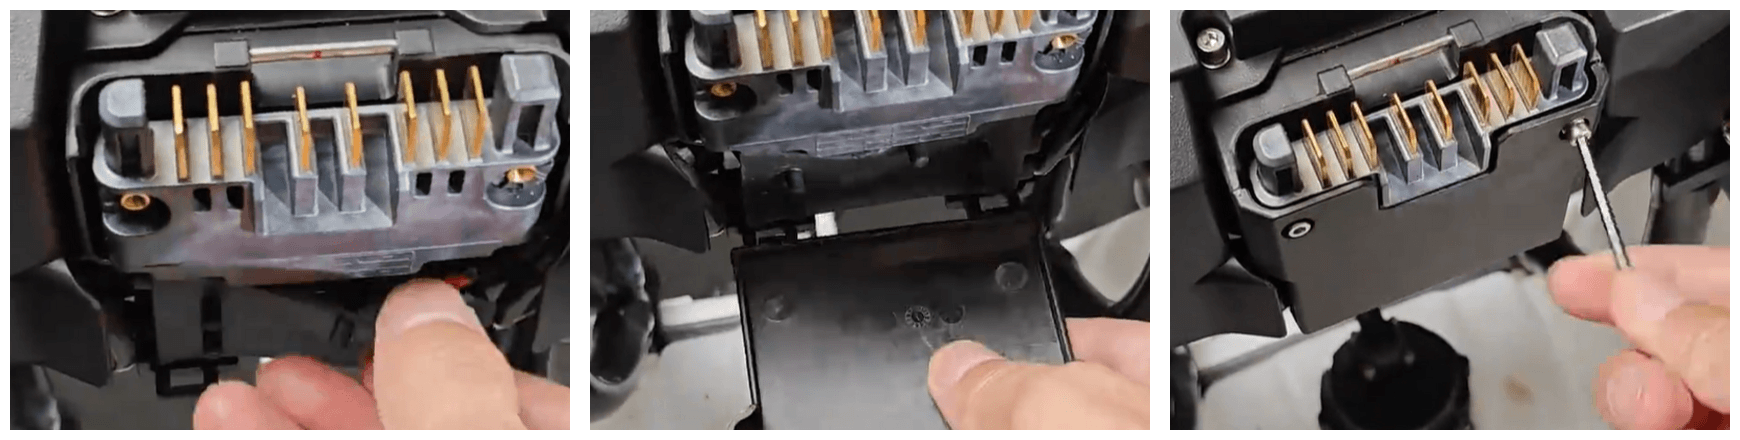
1. Undo the two screws holding the connector’s front housing, then take off the housing.
2. Open the waterproof cover over the busbar board (the plate with the metal contacts). You don’t need to take the cover off completely. Leaving it attached makes it easier to put back.
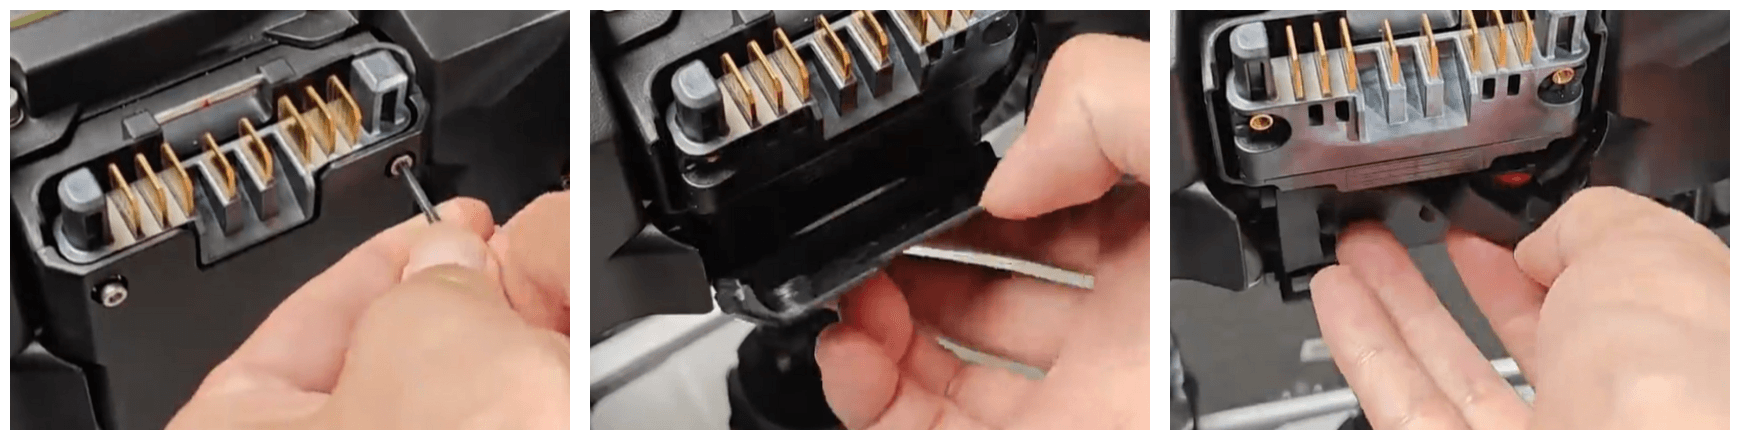
3. If there’s soil, fertiliser or other debris inside, wipe it out with a cotton bud dampened with alcohol.
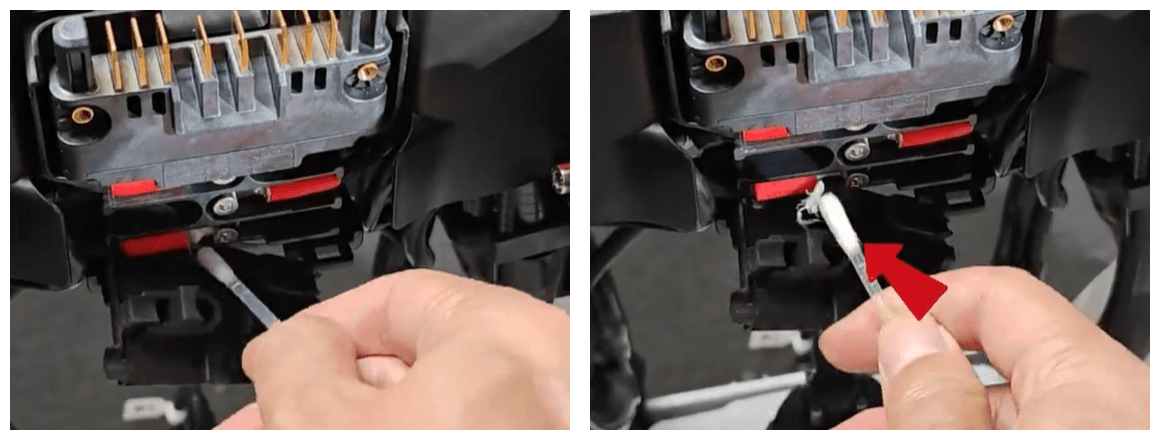
4. Close the waterproof cover, lining up its raised tabs with the matching spots on the busbar board’s front housing, one by one.
5. Line up the raised tabs on the connector’s front housing with the mounting holes and fit the housing.
6. Put the two screws back in their original holes and tighten them.
2. Check the propeller blades
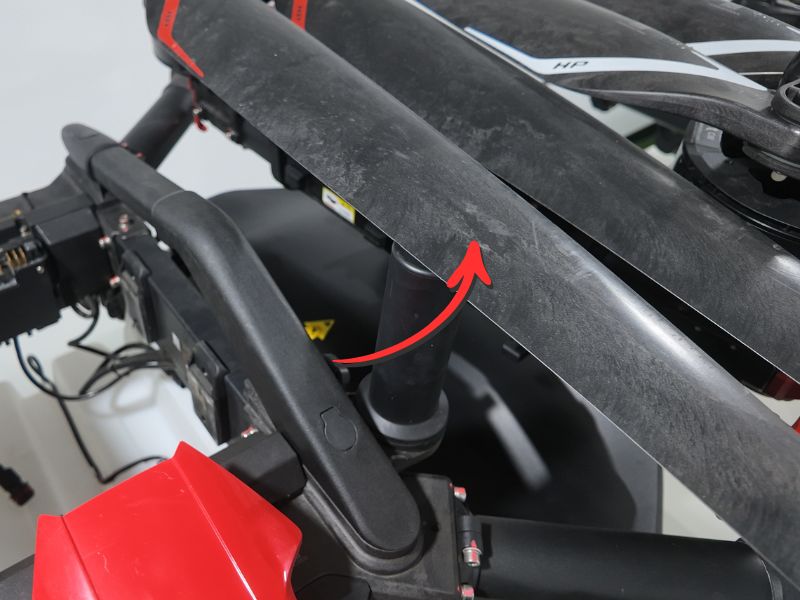
Look for bends, damage, debris and loose blades, and make sure the propeller clamps are tight.
- Bent or damaged blade: take the drone to a service centre for a replacement.
- Dirt or debris: wipe the blades with a damp cloth.
- Loose blade: tighten the propeller clamp screws.
3. Check the motors
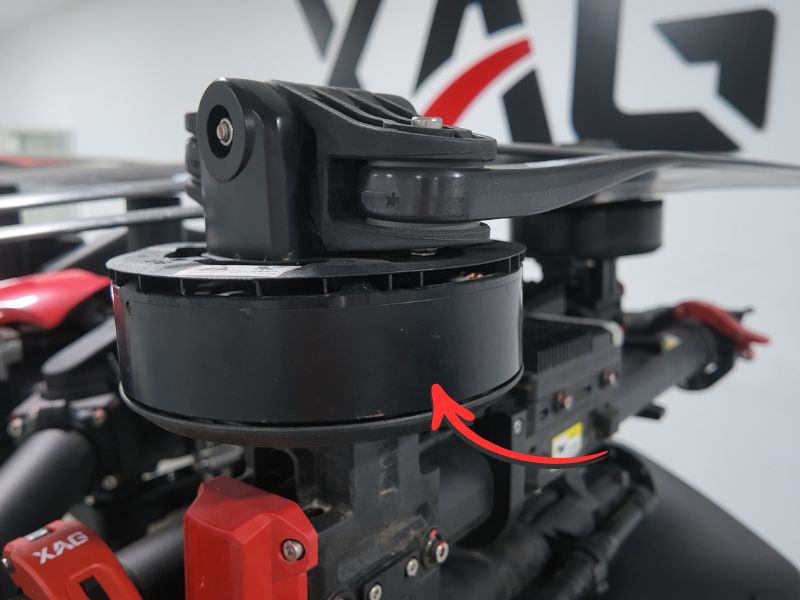
Listen for odd noises and feel for any binding when the motors turn. If you find either, clear any debris from inside the motor. If the problem is still there after cleaning, don’t fly. Contact your dealer or get in touch with us to arrange a repair.
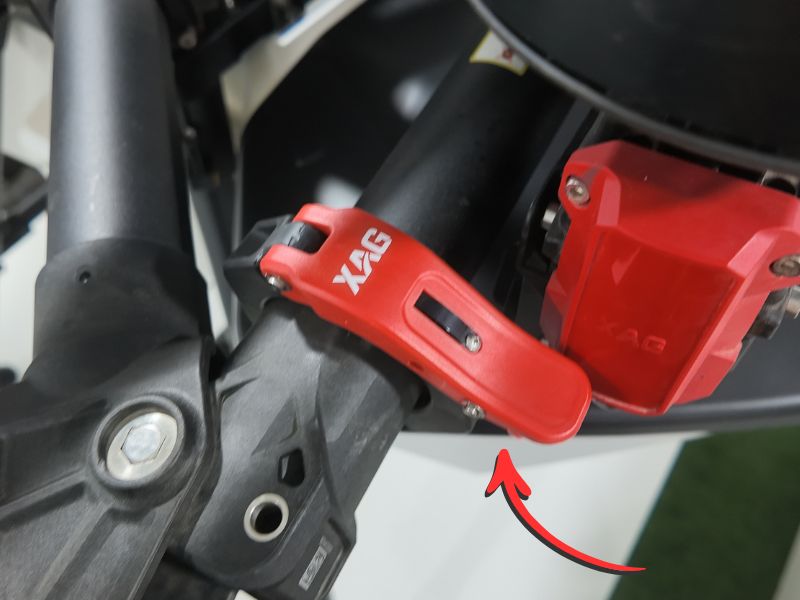
4. Check the arm clamps
Each arm clamp should be locked firmly with no movement. If one is loose, release it and lock it again properly.
5. Check the arms and airframe
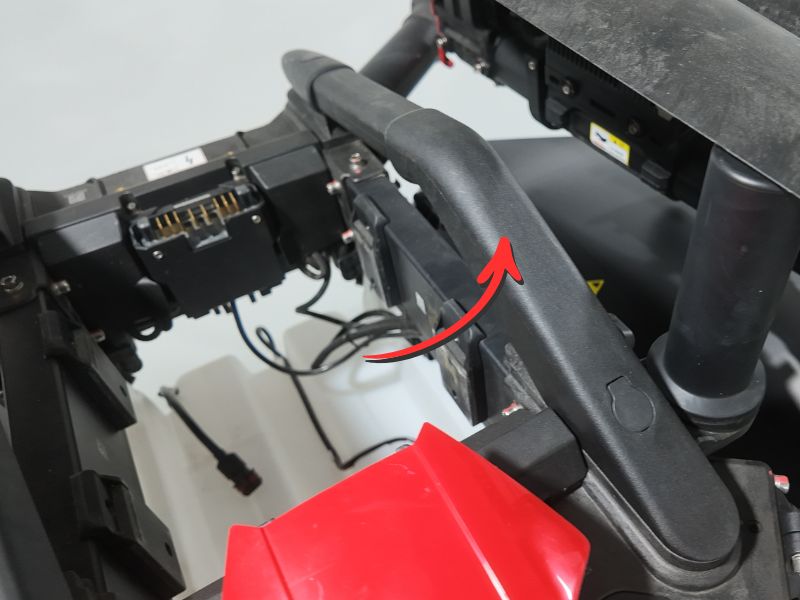
Hold the carrying handle and gently rock the drone. The arms and airframe should feel solid. Look for cracks or other damage. If anything is loose or cracked, get it to a service centre before flying.
6. Keep the lights and sensors clean
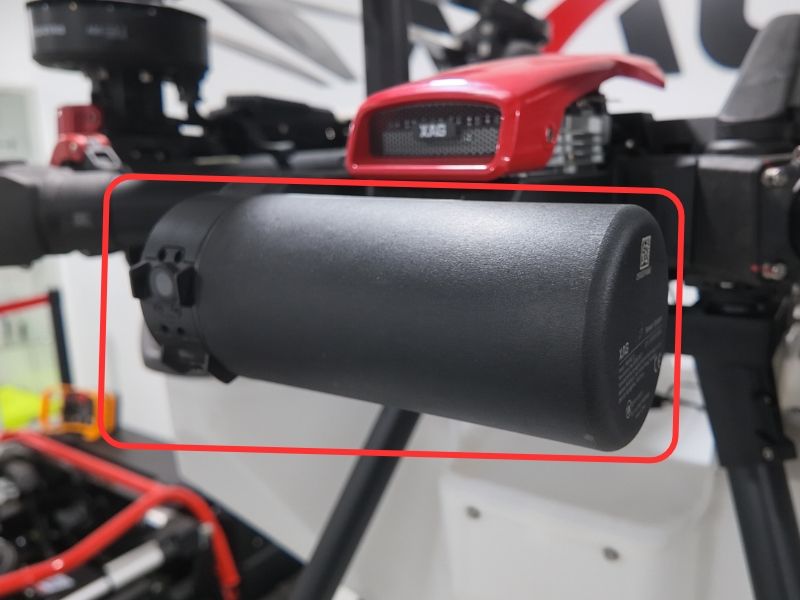
Your drone relies on its LED lights, fisheye cameras and obstacle avoidance radar to read its surroundings. Spray mist and dust on any of them can affect how well it sees.
- Fisheye camera lenses: clean with a lens cloth, wiping in one direction.
- Radar: clean with a damp cloth, wiping in one direction.
More Posts